about craft cook sweat style travel contact

Jewelry party, DIY earring holder display

My best friend from college was hosting a party where companies come to your house and sell things to ladies ready to eat, drink, socialize and most importantly, shop. She told me that I should sell my jewelry from my Etsy shop, the girl in plaid. At first, I was hesitant because I didn't want to be embarrassed if people didn't like any of my stuff. The next day, I made it on the Facebook invitation for the party, and my friend told me that people were already picking out items from my site that they wanted to buy!.. exactly what I needed.

I entered crazy craft mode getting everything I needed to put my table display together. I stuck with my favorite bargain stores, TJ Maxx and Marshalls, and was able to easily find a plaid table cloth, and a standing metal necklace holder. I also bought another necklace display made with in linen for $8 at Michael's. These are great to use for heavier necklaces, or a piece that you want to show how it would sit on your neck.

DIY Earring Holder

For this project, I purchased the following materials:
  • 8x10 wood frames [from Walmart - $5/each]
  • Burlap [from Joann Fabric - $4]
  • Craft paint and brush [from Michael's - $1]
  • Hot glue gun and stick [from Michael's]

Step 1: Take out the glass to the picture frames, and paint your frame desired color


Step 2: While waiting for my paint to dry, use a hot glue gun to anchor the edges of the burlap on the backside of the cardboard.


Step 3: Secure the cardboard backing into the frame, so you can easily hang your earrings on the burlap. Wallah!


My Jewelry Party Checklist:

  • Jewelry pieces
  • Small jewelry tags [from Hobby Lobby - $4]
  • Table cloth
  • Necklace, earring, and bracelet displays
  • Extra beading supplies
  • Boxes for packaging
  • Calculator
  • Laptop [for purchases made w/ credit cards]
  • Business cards
  • Price list
  • Print-outs with promotions and social media information
  • Custom order forms

Despite the $180 speeding ticket I incurred while driving to the party, it went pretty well! In a setting like this, people want to buy things. I made about 10 sales, and even had some custom orders to make... not too bad for my first attempt. Next time, I'll try harder to avoid the cops.


HelloOoOo... Thailand!

I have a big itch, and it's not the kind that a good back scratch can take care of [even though I could totally go for one right now]... I have an itch to travel. The majority of my family views traveling as a hassle and inconvenience. Even though I dread getting on the plane, I know that once I step foot on new grounds it will all be worth it.

Last year, my childhood friend, Melissa, and I decided to take our first giant leap out of the States, and landed in the irresistible country of Italy. This year, we decided to go a little more outdoorsy and made the long trek to Thailand! For almost two weeks we roamed to Bangkok, Khao Sok National Park, Koh Samui, and Koh Tao. If I told you everything about my trip, we would have to grab a coffee, so I'll just highlight my favorites..

Bangkok
1.If you go to Bangkok, you have to see the major temples. My absolute favorite was the Wat Arun (Temple of Dawn). The temple is completely covered is cracked porcelian, making it look like a mosaic masterpiece. You were able to climb all 300 steep steps to the top for an amazing view of the Choapraya River. I'm a sucker for a killer overlook.

2. The Weekend Market was a blast. Test your haggling skills here, and you won't be disappointed! Melissa and I knocked out all of our souvenir and gift shopping here. We were very happy campers.

3. Tuk-tuks are one of the most practical and common modes of Thai transportation in Bangkok. WARNING: If you have a heart condition, you may have a heart attack! It was a thrill in itself, and we loved negotiating the price of the rides.

4. If you need a good massage, your prayers have been answered. For $15, you can get a glorious 1 hour massage.. I am one chick who loves a bargain! Our first massage was a traditional Thai massage, which at times became very painful. For our second round, we went with an oil massage at a nice spa called Urban Retreat. We found this type of massage to be a much more pleasant experience!

5. Thai iced coffee is made to perfection. 


Khao Sok National Park
1. Our tour guide took us to the Monkey Temple nearby, and I will never forget those creatures! We were told to watch our cameras because they will steal them. This little dude next to me was perfectly content with his claimed seat and wasn't moving for anybody. There was a stand where you could buy bananas and nuts. Nothing like a midday snack!

2. As if we weren't sweating enough, we got some good exercise at the National Park. There are only waterfalls in the rainy season, so we didn't get to see any, but it was a nice nature hike through the sky-high bamboo.


Koh Samui

1.  One of the best days on the entire trip was when a small group of us went to Ang Thong National Marine Park. It was an all-day tour that took a boat out to the surrounding islands of Koh Samui. It felt incredible to finally reach the beaches. As soon as we arrived, we ran straight into the turquoise water.

2. The scenery is way too mezmorizing to not go kayaking.   I had been canoeing before, but this was my first time on a kayak, and it is a great sport. If we weren't pressed for time, I would have loved to chill in one for hours. We paddled from one island to another where the boat picked us up to head back to the mainland. To cap the day off, we were allowed to jump off the second story of the boat. I would never say 'no' to that!

3. Our guide took us to a beach side dinner one night, which was very touristy of us. Our table was literally right next to the water, and the outdoor decorative lighting made the atmosphere perfect.

4. One thing I really wanted to do was to go on an elephant ride. Elephants have extremely tough skin, and very straggly course hair, so to touch is very rough. Elephants also have a love for bananas, so we fed them a potassium-filled breakfast! Our elephant driver decided at one point to get off the elephant and let us ride in his place. It was pretty exciting, but terrifying at the same time.


Koh Tao
1. We were in Koh Tao for Songkran, or Thai New Year, which they take VERY seriously. Since April is their hottest month of the year, Thailand celebrates with an enormous water fight. The whole beach was drunk and soaked all day. Adults and children were armed with water guns and buckets, and giant barrels were filled with water at every street corner. The more you expressed that you didn't want to get wet, the more drenched you got, so you just had to let go, accept it, and join in on the fun! Koh Tao has a water restriction, so it only lasted for one day, but in Bangkok it lasts for the whole weekend, and some northern parts even extend it for an entire week.

2. A group of us got a taxi boat to take us over to the nearby island, Nangyuan, so we could go scuba diving. For the day, we rented a mask and snorkel for less than $6 US, which was great so we didn't have to buy them. We saw so many cool things! Sea cucumbers covered the floor, so we were really nervous about stepping on them. Floating in shallow water I didn't expect to see a lot, but there were interesting looking fish everywhere! I named one the 80's fish because its colors were bright blue, pink, and yellow, just like from 'Saved By the Bell.' I also couldn't get over the size of the fish.. they were just HUGE!

3. Scuba diving got me antsy for my first dive! At Scuba Junction we got to go on two dives for only $60 US. It took about 4 hours, and they were really great. We took a boat out to Nangyuan, and went through all the basics, and 'just-in-case' emergency procedures in shallow water until everyone was comfortable. Most of the instructors moved to the island just to dive and become an instructor here. It was such a neat experience! I would like to find myself in a place to dive again in the future.

 I'm a planner, but when I'm in an unfamiliar place, it's so much easier to go with the flow. It makes me at ease and patient.. a couple of traits that I struggle with at home. Thai people live such a simple life, and you realize how spoiled we are and all the things we take for granted. It's amazing to introduce your eyes to the way other people in the world live and thrive. I strongly encourage you to explore. A new friend on our tour told me that sometimes you have to take risks because life is more beautiful.. you see more. I plan on seeing A LOT more!
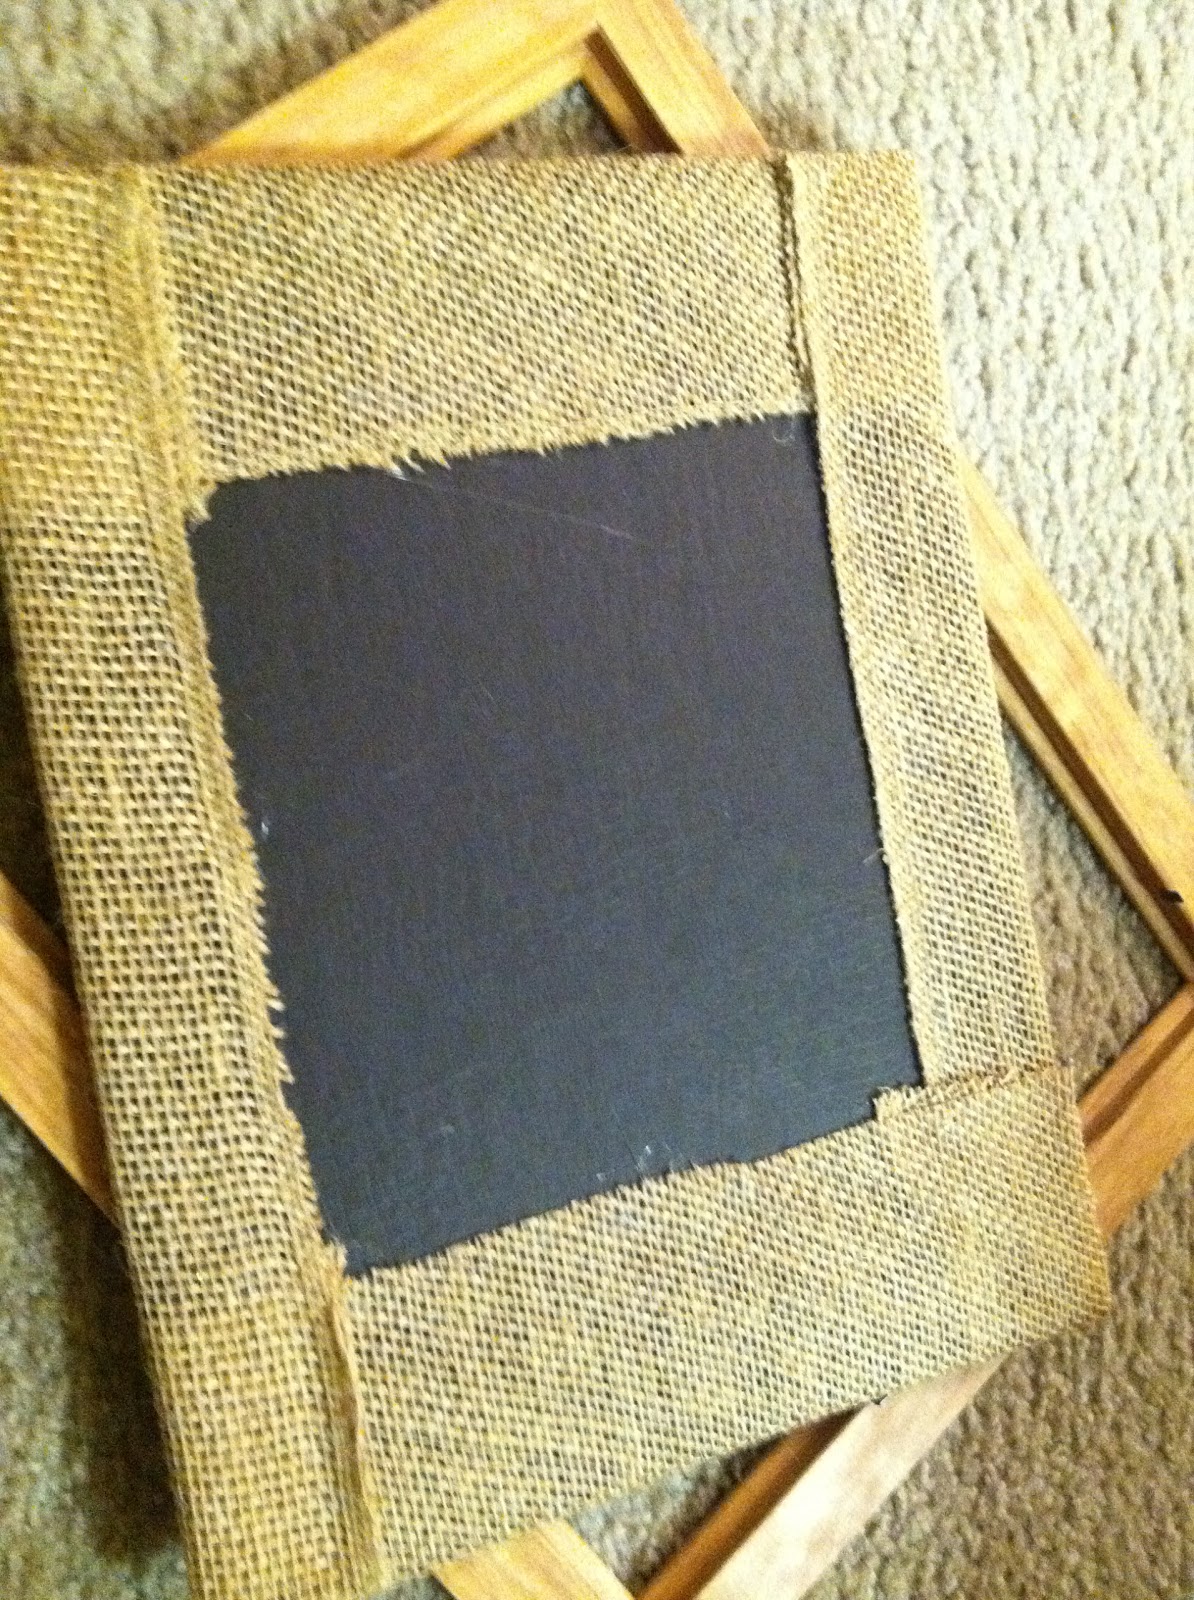


Apalachicola Oyster Mirror

Oyster MirrorFinding my way thru design stores along the forgotten coast, I have found many pieces of furniture and art my heart desires and my wallet despises.  In a boutique in Apalachicola, a small town in Florida which produces 90% of all Florida’s oysters, I came across the most beautiful mirror lined in rows of glistening oyster shells. I had to have it.

Here is how I created the same oyster mirror from the boutique without the shocking price tag: 

Supplies:
  • empty oyster shells -Free! 
  • spray enamel - $3 
  • old mirror with wide frame - Free! 
  • hot glue gun - $1 
  • gorilla glue - Free! 

Cost of Boutique Mirror - $450

 Step 1: Collect Oyster Shells 
Luckily I come from a big family of oyster lovers so empty shells are plentiful around the grounds of The Whaley House.  The flatter the shell the better. I used smaller shells on the inside of the mirror and larger shells to surround the outside. 

Step 2: Clean, Dry and Spray 
Once the oyster shells are cleaned with water, they can be sprayed with enamel and laid to dry in the sunshine.  This gives the shells an extra shine. 


Step 3: Glue 
I was unsure my hot glue gun would be strong enough to hold the weight of the shells so I used Gorilla glue as the base. Since Gorilla glue takes 2+ hours to dry, I used the hot glue as the temporary adhesive until the gorilla glue dried everything in place. 

Step 4: Patience 
Make sure all shells are securely glued to the mirror before finding the perfect location to hang your new mirror.  

Enjoy ! 

Inexpensive DIY Headboard

Your room always appreciates a little facelift! A portion of my bedroom makeover budget was reserved for a DIY headboard. Of course I procrastinated on this project, but once I got my ass to the store for the materials, there was no turning back. It was actually a great weekend project I completed with my generous boyfriend.


Materials List:
  • Plywood sheet ($30): 23/32 inch x 4 ft. x 8 ft. from Home Depot
  • 2x4 ($6): two from Home Depot
  • Screws ($2): 2 1/2" tall from Home Depot
  • Foam mattress pad ($10): twin size from Walmart
  • Batting ($12): 3 yards from Jo-Ann Fabrics
  • Fabric ($20ish): 2 separate sheets of 2 yards; price will vary depending on what you get, but make sure it's durable
  • Hemming tape ($3): Ultra bond from Jo-Ann Fabrics
  • Tacky spray ($5): I used Aleena's Crystal Clear Tacky Spray Adhesive from Jo-Ann Fabrics
  • TOTAL: $78
Tools List:
  • Electric hand saw
  • Electric drill
  • Staple gun
  • Scissors 
  • Iron
The first thing we did was outline and cut the plywood. My headboard measures 65 inches wide and 36 inches tall (for a queen size bed). We decided to make its shape with a slight curve at the top. To do this, we tied tied a piece of string around a pencil to make a compass and drew out the curved feature. My boyfriend then used an electric hand saw to cut the massive base, while I went wild with the tacky spray, attaching the mattress to the board. Afterwards, I trimmed off the excess padding.   

While the spray was drying, I used some hemming tape to iron my two sheets of fabric together into one sheet. Because the headboard is so large, the dimensions of the fabric aren't really tall enough, so your best bet is to just get two pieces of the same length so it's big enough to cover your board.

Now it's time to attach the legs of the headboard. We measured how high we needed it to stand, and used those measurements to decide where to place the 2x4's. Mine stands 18 inches from the ground. I cut some spots on the mattress pad so my boyfriend could drill the holes where the screws will go to attach the posts.

The rest is easy breezy from here! The batting will help create a smooth surface for the fabric. The store had a bunch of different thicknesses of batting, but I just stuck with an inexpensive one. I don't really think the heavy stuff is necessary, plus it's a budget project! The easiest way to apply the batting would be to lay it down on a flat surface, then place your headboard with the mattress pad side face down. Make sure you pull the batting tightly, before staple gunning it to the board. Your finished batting should look a little like this...

You can pretty much use the same process for your fabric like you do for the batting. I had a lot of excess fabric, which made it very easy to pull tightly, but it's also a good idea to have the extra fabric so you can staple it without touching or damaging the batting.. just in case you want to use a different fabric design somewhere down the road. Check out my amazing amateur upholster job.. the good thing is that the back won't show!

I am very proud of this headboard! And now that I know how great my boyfriend's handiwork really is, I'll have to line up a few more projects for us. He can't hide from my craft addiction anymore! I'm glad we did this together, and we really worked well as a team. It is the perfect weekend project that gets your artsy juices flowing while your man gets the green light to play with some power tools and guns!